

They have all the features I've been looking for in a cup (other than double walled insulation): glass, non-plastic straw, screw on lid so I don't spill my drink everywhere if I knock it over.
PLUS it reuses material that otherwise would end up in a landfill or recycling facility. It's way better to repurpose the things we already have than send them into the high energy, still somewhat wasteful recycling process.
Supplies Needed:
- Old Spaghetti sauce jar (or other glass jar) with screw on lid)
- Paint suitable for metal (I chose Plaid Outdoor paint b/c it's water base and non toxic)
- Rubber Grommet (1/4" in inside diameter)
- Stainless Steel straw (I used these stainless steel drink straws
)
Step 1: Prep Your Jar (s)

Rinse your jars and soak to remove the label. Remove any lingering label residue and wash jar and lid throughly.
Step 2: Paint the Lid

Remove the lid from your jar and spread a large piece of saran wrap over the top.

Re-attach lid to jar over the saran wrap. This will let us paint the lid without worrying about getting paint inside the lid where it will touch your beverage

Wipe your lid with rubbing alcohol to remove any grime or fingerprints

Paint lid using Plaid brand Outdoor point. Once dry to the touch, gently unscrew lid so it can sit and cure without attaching to the saran wrap. Allow to cure for 48 hours.
Step 3: Decorate Your Jar
My first attempt at decorating my jar went like this:


I printed out my name out in a cool font on the back of some clear contact paper. Meticulously cut out design using exacto knife in order to make a stencil. Wiped glass with rubbing alcohol and applied stencil to glass. Painted over glass using Plaid glass & ceramic paint. Let Dry. Peeled up stencil. Cried. (I mean, really, look how ugly that last picture is)
Because not enough paint stuck too the glass and too much stuck to the contact paper and peeled away. I had invested maybe 2-2.5 hours in this step at this point and was SO disheartened.
All that to say: Don't do what I did. Buy a glass paint pen and freehand draw your design. Or use stickers. Or apply vinyl if you have a fancy vinyl cutting machine. This might even be a fun family project to let everyone personalize their own jar.
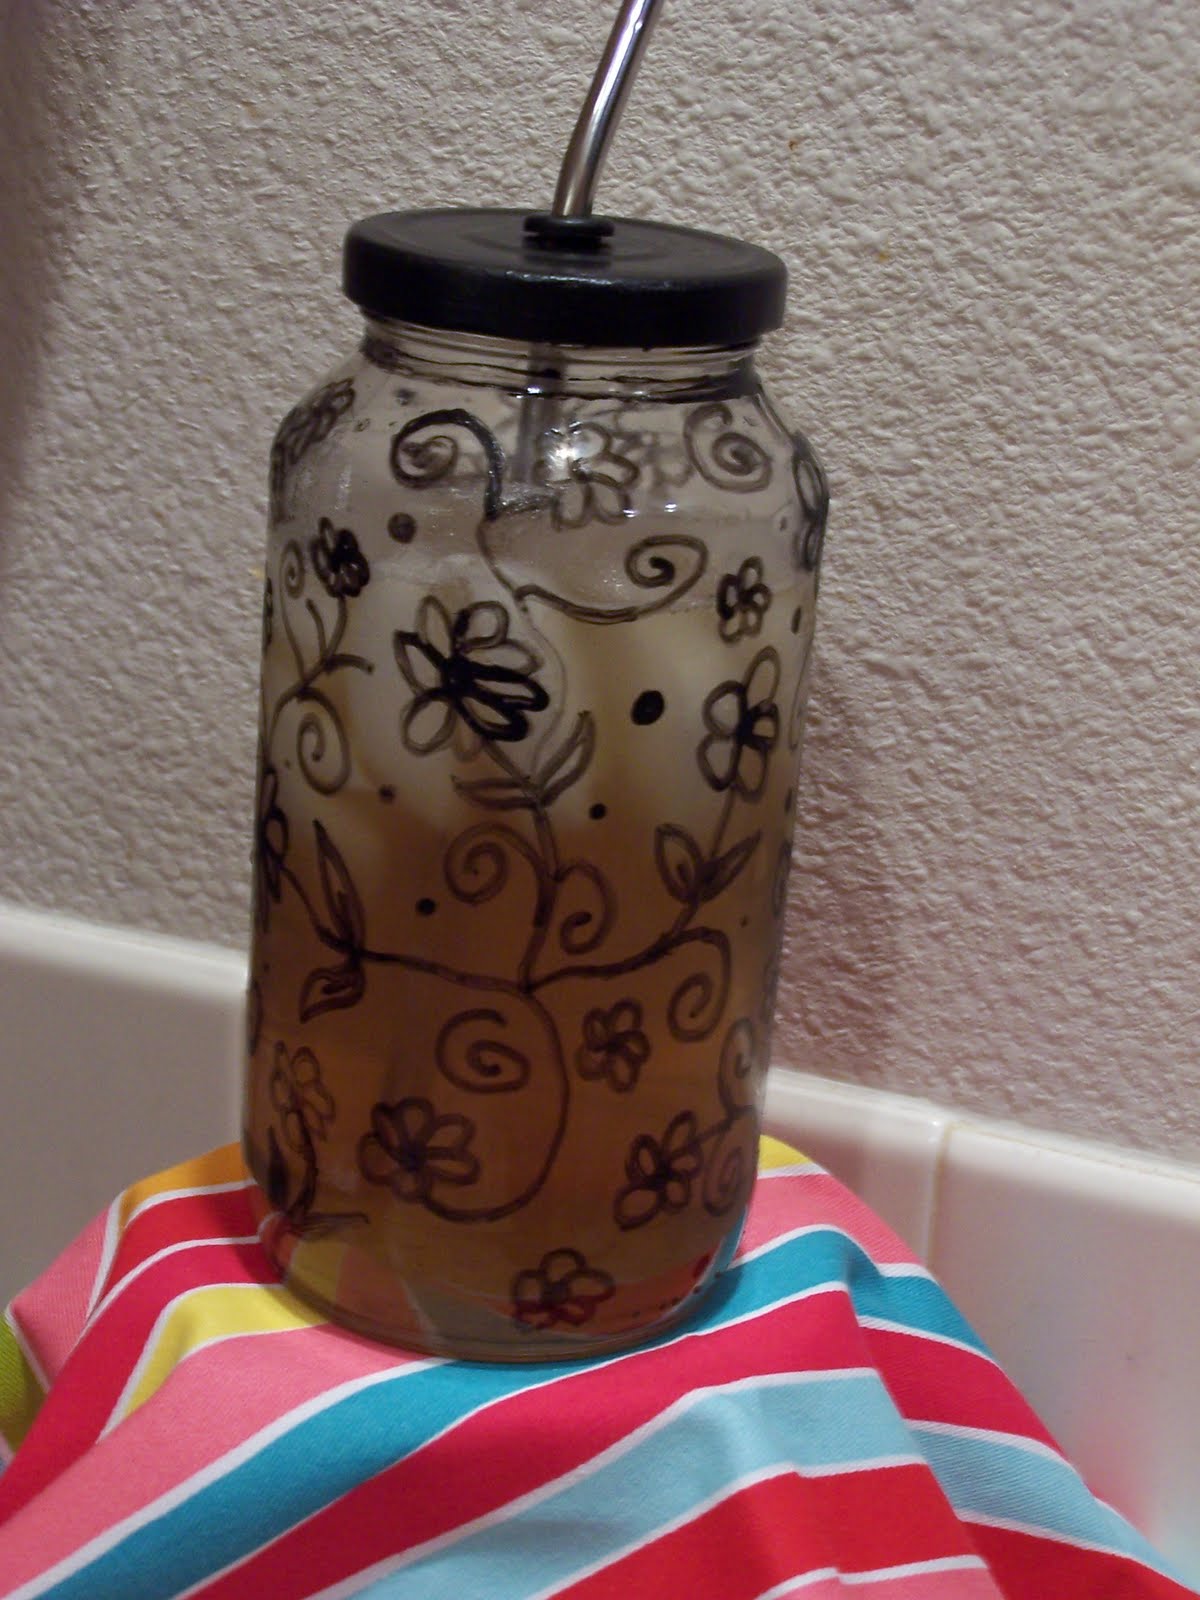
One one jar I just wrote my name along the bottom and on the other I drew flowers and vines all over

Step 4: Attach the Straw
If all you want is a cup to sip from, really, you could stop at step three. If you're like me and need a straw for clumsiness ease follow these steps once your lid is done curing:

Grab a grommet and drop it into a cup of super hot tap water. This will make it more flexible and easier to smoosh into the hole you're about to make.

Use a tiny drill bit to screw a wee little hole right smack in the middle of your lid. Hold your lid over a sink or covered work area to catch little metal shavings that might peel off during this part.

Get the next drill bit size up in your drill bit kit. Drill through your pilot hole, expanding the diameter. Keep working through your drill bits, moving up one size at a time, slowly increasing the size of your hole until it is just big enough to slide your straw through. Then go one size larger.


Get the grommet out of the water (don't get burned!) and smoosh it through the hole so the lip on either side holds it in place. Wash your lid really well to remove any paint or metal shavings.

Get one of your brand new shiny straws and clean it with the little cleaner brush it came with.

Stab that baby through the middle of your grommet.
ENJOY!
Screw your lid back onto your jar and enjoy your new non-toxic portable beverage container!


)