

(imagine the sound of angels singing as you look at the picture)
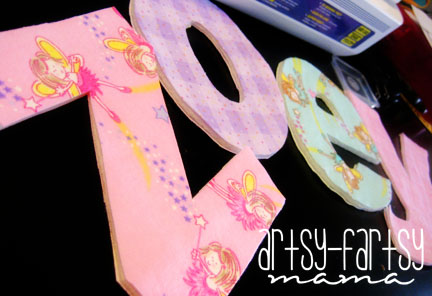
Ok, now on to business :) For my daughter's bedroom, I decided to make her some rag letters inspired by Jessica at Happy Together. Like most of my projects for my daughter, I wanted them to match her rag quilt I made her for Christmas.
 Here is what you'll need:
- Fabric for front
- Fabric for back
(I used the same fabric for both sides)
- Quilt batting
- Sewing machine, scissors, pins, etc
- Letter printouts for template/stencils
1. Print and cut out your letters to use as a template. I typed my own and made them all the same size & font. You could make your own using Word, Photoshop or whatever you have or you could freestyle it. Happy Together also has a pattern you can download.

2. Cut out squares of fabric and quilt batting that fit the size of your letters.


So... I am a very beginner sewer... this was my first attempt at sewing one of my letters. Pretty crooked, right? I am embarrassed to even post this picture, but nobody's perfect! Luckily my machine came with a walking foot and I have an incredibly patient mother who was willing to come teach me how to do it the "right" way!


7. Now, get your laundry together and throw your letters in! Washing & drying the letters will give them the "rag" look.
Now you can display your letters or give them to your child to learn their ABC's!


